
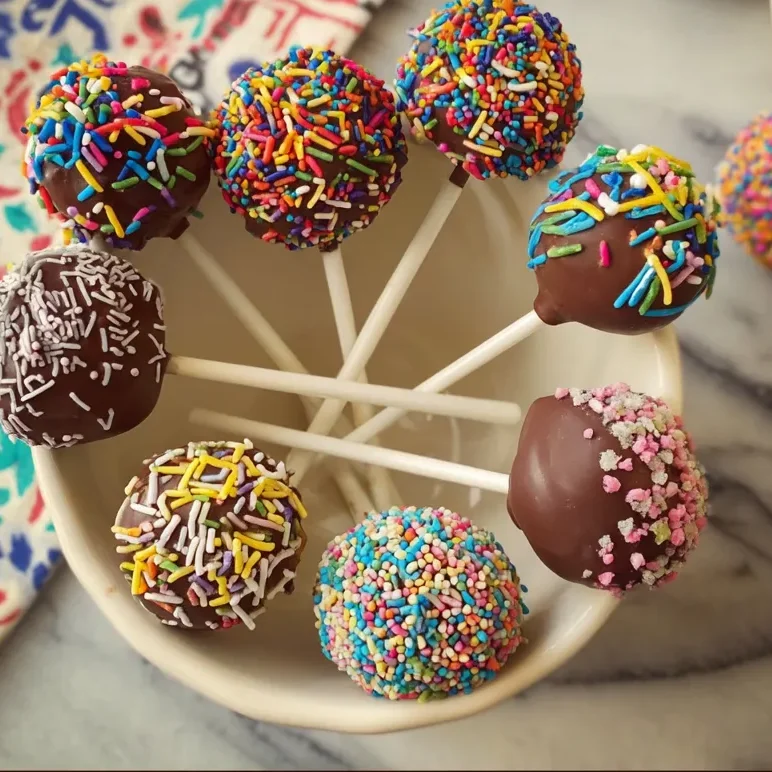
Homemade Cake Pops are my favorite quick celebration treat—colorful, customizable, and always a crowd-pleaser. As a chef who believes in simplifying smart recipes for busy families, I designed these cake pops to come together in under an hour with everyday ingredients. From the moment I crumble the cake to the final sprinkle, the process is relaxed, forgiving, and playful—perfect for a quick weekday party or a weekend brunch with friends. This article shares three easy, color-inspired ideas that work for birthdays, bake sales, or school events, plus tips to keep the coating glossy and the pops sturdy. Ready to create a playful, polished dessert with minimal effort? Let’s dive in.
Table of Contents
what make this Homemade Cake Pops special
Homemade Cake Pops are my go-to quick celebration treat. I love that they’re colorful, adaptable, and forgiving when I’m short on time. On hectic days, this recipe saves time without sacrificing flavor. I can bake a cake earlier in the week and transform it later. The steps stay relaxed, playful, and family-friendly—perfect for busy moms and professionals.
I love that you can customize colors to match any event. And the coating stays glossy with just a quick drip-dry trick. They travel well too, making party favors or bake-sale stars. Plus, cleanup is gentle on busy evenings.
A chef’s quick-celebration answer for busy days
On mornings that feel like a sprint, I reach for Homemade Cake Pops. They use simple ingredients and a forgiving timeline, perfect for busy days. I can dip and decorate in short bursts between meetings or kid duties. The payoff is a show-stopping dessert that tastes like a celebration.
Why You’ll Love This Homemade Cake Pops
I reach for Homemade Cake Pops when I want a dessert that looks special without extra stress. They come together fast, and the flavor always shines through. Color options let me match birthdays, bake sales, and school events. Plus, I can prep in steps between chores and meetings. The glossy chocolate coating stays stunning with a simple dip and drip technique. I love that they travel well and feel festive without being brittle.
Effortless party centerpiece ideas
These cake pops look like little portable party jars of joy. Set them in a foam block for height, group colors by theme, or mix flavors for a playful rainbow display. They spark conversation and keep guests reaching for seconds.
Ingredients
Homemade Cake Pops make shopping simple for any party. Here, I list exact quantities you’ll need. Print this section for a quick grab-and-go prep.
What you’ll need for Homemade Cake Pops
Here’s what you’ll need for Homemade Cake Pops to keep things simple. I’ll break down exact amounts below so printing is easy. Keep two bowls ready: one for crumbles, one for dipping.
- 1 baked 9-inch cake (any flavor), completely cooled
- 1/2 cup frosting (matching flavor)
- 12 oz white or milk chocolate melting wafers
- Lollipop sticks
- Sprinkles or decorative toppings (optional)
- Optional substitutions: dairy-free chocolate, gluten-free cake, or non-dairy frosting
Quick notes on ingredients
Choose flavors that pair well, like chocolate with vanilla or red velvet with cream cheese. Fresh frosting helps the cake pops stay creamy and cohesive. If you need dairy-free options, dairy-free chocolate and frosting work great and taste fantastic.
Printing tip
Exact quantities are listed at the bottom of the article for printing. Keep this handy near your workstation for quick reference.
How to Make Homemade Cake Pops
Step-by-step instructions
I love turning a simple baked cake into portable party favors with Homemade Cake Pops. The process is forgiving and totally customizable, perfect for busy days. I crumble the cooled cake into fine crumbs, then fold in frosting until the mix feels like soft clay. I roll the dough into one-inch balls, rest them on a lined sheet, and chill until firm. While they chill, I melt chocolate until silky smooth. A quick dip of the stick into chocolate helps the pop stay put. Then I swirl the coated centers, sprinkle with color, and let them stand upright until glossy and set. Quick, cheerful, and sure to impress.
Step 1 — Crumble the cooled cake into fine crumbs in a large bowl.
Use your hands or a fork to break it until no big lumps remain.
Step 2 — Add frosting and mix until the texture resembles soft dough.
Start with a little frosting and mix; add more until it holds together.
Step 3 — Roll mixture into 1-inch balls and place on a lined baking sheet.
Keep balls uniform for even coating; space them so they chill evenly.
Step 4 — Chill for 20–30 minutes until firm.
A quick chill keeps them from crumbling when dipped.
Step 5 — Melt chocolate until smooth.
Stir often; you want a glossy, lump-free coating.
Step 6 — Dip the tip of each lollipop stick into melted chocolate and insert into cake balls. Chill for 10 minutes to secure.
This sets the stick in place so it won’t wobble during dipping.
Step 7 — Dip each cake pop fully into melted chocolate, tapping off excess.
Dip straight down, then give a gentle twist to coat evenly.
Step 8 — Decorate immediately with sprinkles before coating sets.
Sprinkles cling best while the shell is still soft and wet.
Step 9 — Let stand upright until fully hardened.
Keep them in a stand or foam block so the coating dries pristine.
Tips for Success
Small tweaks go a long way with Homemade Cake Pops. Here are quick, practical tips that keep things smooth and stylish.
Quick wins for glossy coating
- Keep chocolate smooth by cooling briefly between dips; wipe any drips on the edge of the bowl.
Timing and texture tips
- Chill the cake balls 20–30 minutes; work in small batches to prevent coating from setting too quickly.
Presentation ideas
- Stand cake pops upright in a foam block for steady drying and an appealing display.

Equipment Needed
I keep these tools handy for Homemade Cake Pops; they make the process smooth and fun.
- Mixing bowls and spatulas
- Baking sheet and parchment paper
- Microwave-safe or heat-proof bowl for melting chocolate
- Dipping tools or forks for coating
- Lollipop sticks
- Styrofoam block or cake-pop stand for drying
Variations
- Flavor twists: I love pairing chocolate cake with strawberry frosting for a fruity twist on Homemade Cake Pops, or vanilla cake with lemon frosting for brightness, or carrot cake with cream cheese frosting for a cozy bite.
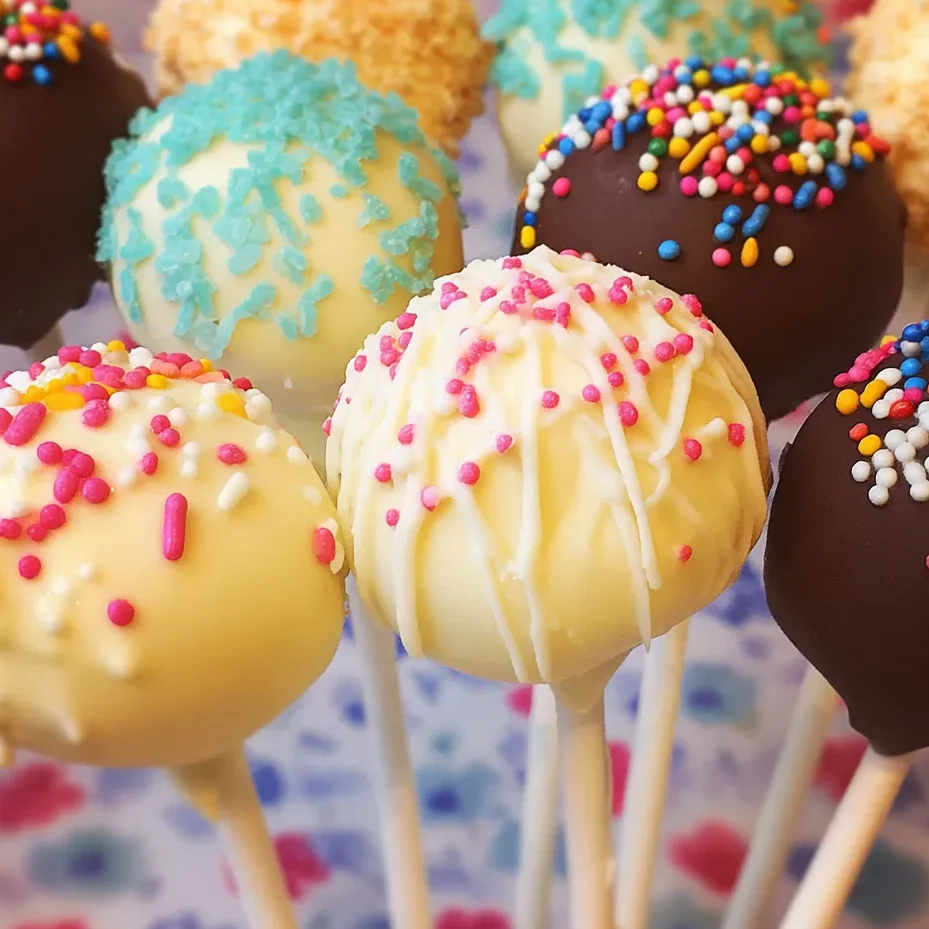
- Color and decoration: I use seasonal colors, glitter sugar, and candy pearls to match the party vibe—minty greens for spring, ruby reds for Valentine’s, or team colors for game day.
- Dietary options: For dairy-free or vegan guests, I swap in dairy-free chocolate, gluten-free cake, and vegan frosting—no one misses a thing.
- Theme ideas: Create a rainbow display, a princess-party pastel palette, or sports-team color blocks to make the table pop and photos shine.
Serving Suggestions
- Serve with vanilla milk or a chilled cold brew for a creamy contrast and a simple pairing.
- Display on a tiered stand or cake-pop bouquet to create a beautiful centerpiece and easy serving at events.
- Pair with fruit skewers or yogurt parfait cups for color balance, texture variety, and crowd-pleasing contrast.
Make-Ahead Ideas for Homemade Cake Pops
Make-Ahead ideas for Homemade Cake Pops save time and nerves.
One bake can become a weeklong plan for parties and busy weeks.
With a few smart steps, glossy pops shine without stress and mess.
- Bake the cake a day ahead; crumble and store in a sealed container for easy pull-together decorating.
- Prepare cake balls and freeze on a tray, then transfer to an airtight bag for up to 1–2 weeks.
- Melt chocolate and keep in a warm, steam-free area; dip once ready to assemble and decorate later.
- For events, assemble the pops a day ahead and refrigerate the finished product in a stand; return to room temperature before serving.
- Label flavors or colors to stay organized on busy prep days.
When party time comes, a quick dip and a kiss of sprinkles finish the look.
This routine cuts prep time and keeps flavors bright.
Homemade Cake Pops stay firm, travel-ready, and perfect for last-minute celebrations.
So, I encourage you to play with flavors and colors to mirror your vibe. I invite you to enjoy the process as much as the final bite. Your Homemade Cake Pops will spark smiles and happy memories.
FAQs
FAQs: Storage, freezing, and transfers
Can I freeze cake pops before dipping?
Yes. I freeze the cake balls uncoated for up to 1 month;
thaw overnight and dip as directed.
This keeps them tidy and crumb-free.
Do I need to refrigerate finished cake pops?
Yes, if you used dairy-based frosting or chocolate;
refrigerate briefly to set, then return to room temperature for serving.
This helps prevent sweating and keeps the shine.
Can I use other flavors or vegan options?
Absolutely. I mix flavors to taste; choose dairy-free chocolate and frosting for vegan-friendly pops.
Just ensure the pairing holds together well.
How far ahead can I prepare cake pops for a party?
Cake balls can be prepared days ahead; coating and decorating can be done the day of the event for freshest appeal.
I label colors or flavors to stay organized on busy days.
Final Thoughts
Homemade Cake Pops bring color, joy, and a spark of celebration to my gatherings. I love how they light up a table and lift spirits without a fuss. They’re a breezy, friendly way to say, “Let’s party.”
As a passionate home cook, I adore how simple they feel. In under an hour, I can transform leftovers into a party centerpiece. The kids beg for a new color combo every week, and I’m happy to oblige.
With smart make-ahead options, I dodge last-minute dessert chaos. I love that they travel well and look pristine in photos. That peace of mind is worth its weight in sprinkles to me.
So, I encourage you to play with flavors and colors to mirror your vibe. I invite you to enjoy the process as much as the final bite. Your Homemade Cake Pops will spark smiles and happy memories.
Print
Homemade Cake Pops: 3 Easy Colorful Delicious Party Ideas.
- Total Time: 1 hour
- Yield: 18–20 cake pops 1x
- Diet: Vegetarian
Description
Homemade Cake Pops are simple, colorful, and perfectly sweet party treats that are easy to customize for any celebration.
Ingredients
- 1 baked 9-inch cake (any flavor), completely cooled
- ½ cup frosting (matching flavor)
- 12 oz white or milk chocolate melting wafers
- Lollipop sticks
- Sprinkles or decorative toppings (optional)
Instructions
- Crumble the cooled cake into fine crumbs in a large bowl.
- Add frosting and mix until the texture resembles soft dough.
- Roll mixture into 1-inch balls and place on a lined baking sheet.
- Chill for 20–30 minutes until firm.
- Melt chocolate until smooth.
- Dip the tip of each lollipop stick into melted chocolate and insert into cake balls. Chill for 10 minutes to secure.
- Dip each cake pop fully into melted chocolate, tapping off excess.
- Decorate immediately with sprinkles before coating sets.
- Let stand upright until fully hardened.
Notes
- Chill the cake balls for 20–30 minutes until firm before dipping.
- Dip the tip of each lollipop stick into melted chocolate before inserting into the cake balls to help secure them.
- Decorate with sprinkles immediately after dipping while the coating is still soft.
- Let the cake pops stand upright until fully hardened for best results.
- Prep Time: 30 minutes
- Cook Time: 0 minutes
- Category: Dessert
- Method: Assembly and Decoration
- Cuisine: American
Nutrition
- Serving Size: 1 cake pop
- Calories: N/A
- Sugar: N/A
- Sodium: N/A
- Fat: N/A
- Saturated Fat: N/A
- Unsaturated Fat: N/A
- Trans Fat: N/A
- Carbohydrates: N/A
- Fiber: N/A
- Protein: N/A
- Cholesterol: N/A
Keywords: Homemade Cake Pops, cake pops, party treats, chocolate coated cake pops, easy cake pops, colorful dessert, celebration dessert, DIY party treats