
Easter Egg Rice Krispies Treats are not just a seasonal sweet—they’re a dependable, no-bake crowd-pleaser that fits a busy life without sacrificing flavor or fun. As a chef who hops between kitchen service and family meals, I treasure recipes that scale, cut cleanly, and still feel playful. These Easter eggs are built on a simple foundation: marshmallow, butter, and Rice Krispies bound into a sturdy, sliceable base, then dressed with white chocolate or icing and pastel sprinkles. They come together in under an hour, travel well for picnics or school events, and let you customize colors for every age and personality. Read on for practical tips, variations, and decorating ideas that elevate this everyday treat into a party centerpiece.
Table of Contents
What makes this recipe special
Easter Egg Rice Krispies Treats are my go-to quick, no-bake dessert for busy weeks. They deliver nostalgia with zero-fuss, and they slice cleanly enough for a tray of school treats. I love how a bowl, a spoon, and a little patience can turn into edible Easter art.
Why this no-bake indulgence fits a busy life
Without an oven, I can pull this off between meetings or after practice runs. It’s forgiving, too—if the marshmallow gets stiff, a few seconds in the microwave does the trick. Clean-up is a quick wipe, then I’m back to the chaos with a smile.
A playful Easter centerpiece that travels well
These eggs shine on a dessert table and travel in a reusable container without a mess. Color them in pastel blues and pinks to match spring vibes, and they become the conversation starters. I love loading a platter for potlucks, then watching kids and grownups hunt for their favorite egg.
Why You’ll Love This recipe
I reach for Easter Egg Rice Krispies Treats when I need a quick, no-bake dessert.
They fit a busy day and still feel special.
No oven, no stress—just melt, mix, shape, and smile.
They’re forgiving and endlessly customizable, from colors to toppings.
A quick drizzle of white chocolate makes them feel festive.
Plus, kids love shaping the eggs and choosing sprinkles.
Speed and simplicity for busy mornings or parties
I can whip these up in under 30 minutes, start to finish.
No batter to rest or oven needed.
They travel well to gatherings, making life easier.
Kid-friendly, customizable appeal
My kids love choosing colors and helping shape the eggs.
It’s a quick kitchen lesson in patience and pride.
Plus, they beg for extra sprinkles, which I happily grant.
Ingredients
I keep a big bag of these staples on hand, because they come together fast and taste like Easter magic. Below are the exact ingredients I reach for, with quick notes on their role. Exact quantities appear at the bottom of the article and printing options are available.
Core ingredients and their roles
- 6 cups Rice Krispies cereal — provides the crisp structure that holds the eggs together.
- 4 cups mini marshmallows — acts as the sweet, gluey binder that makes every bite soft inside.
- 3 tablespoons butter — adds richness and helps melt and bind the mixture.
- ½ teaspoon vanilla extract — brightens flavor with a gentle warmth.
- Food coloring (optional) — allows Easter hues; add a drop or two to tint the mix or colors after shaping.
- 1 cup white chocolate or icing for decorating — gives the glossy finish and a smooth canvas for drizzle.
- Sprinkles or pastel candies for garnish — the final pop of color that says spring.
Optional add-ins and swaps
- Dairy-free option: use dairy-free butter and marshmallows to make these vegan-friendly; check labels for melt quality.
- Natural colorings: swap synthetic food coloring for tiny amounts of beet juice, turmeric, or spinach puree for pastel shades.
- Different finishing: instead of white chocolate, drizzle colored icing or melted almond butter for different textures.
- Texture twists: add a handful of mini chocolate chips, crushed pretzels, or dried fruit bits for a chewy contrast.
- Cereal swaps: mix in a few spoonfuls of a crunchy cereal like cornflakes for variety, but expect different binding.
How to Make Easter Egg Rice Krispies Treats
Here’s how I pull together Easter Egg Rice Krispies Treats in a busy week. No oven needed, just marshmallows and a bit of patience.
Step 1 — Melt butter and marshmallows
In a large pot over low heat, I melt 3 tablespoons butter. Then I add 4 cups mini marshmallows and stir until smooth. If they resist, give them a few seconds in the microwave to loosen.
Step 2 — Stir in vanilla
Remove from heat and stir in ½ teaspoon vanilla extract. The warmth lets the vanilla bloom and lift the sweetness.
Step 3 — Add Rice Krispies and coat
Pour in 6 cups Rice Krispies and fold gently until every flake is coated. The mix should look glossy and thick.
Step 4 — Let cool slightly, then shape into eggs
Let the mixture cool a few minutes. Grease your hands lightly and shape into egg forms. Press firmly but not too tight.
Step 5 — Set on parchment (20–30 minutes)
Place the eggs on parchment paper. Let them sit 20–30 minutes, until firm. These Easter treats take shape and hold well.
Step 6 — Melt white chocolate or prepare icing
Meanwhile, melt white chocolate in short bursts. Or whisk icing until smooth. If icing, thin with a splash of water.
Step 7 — Decorate with drizzle and sprinkles
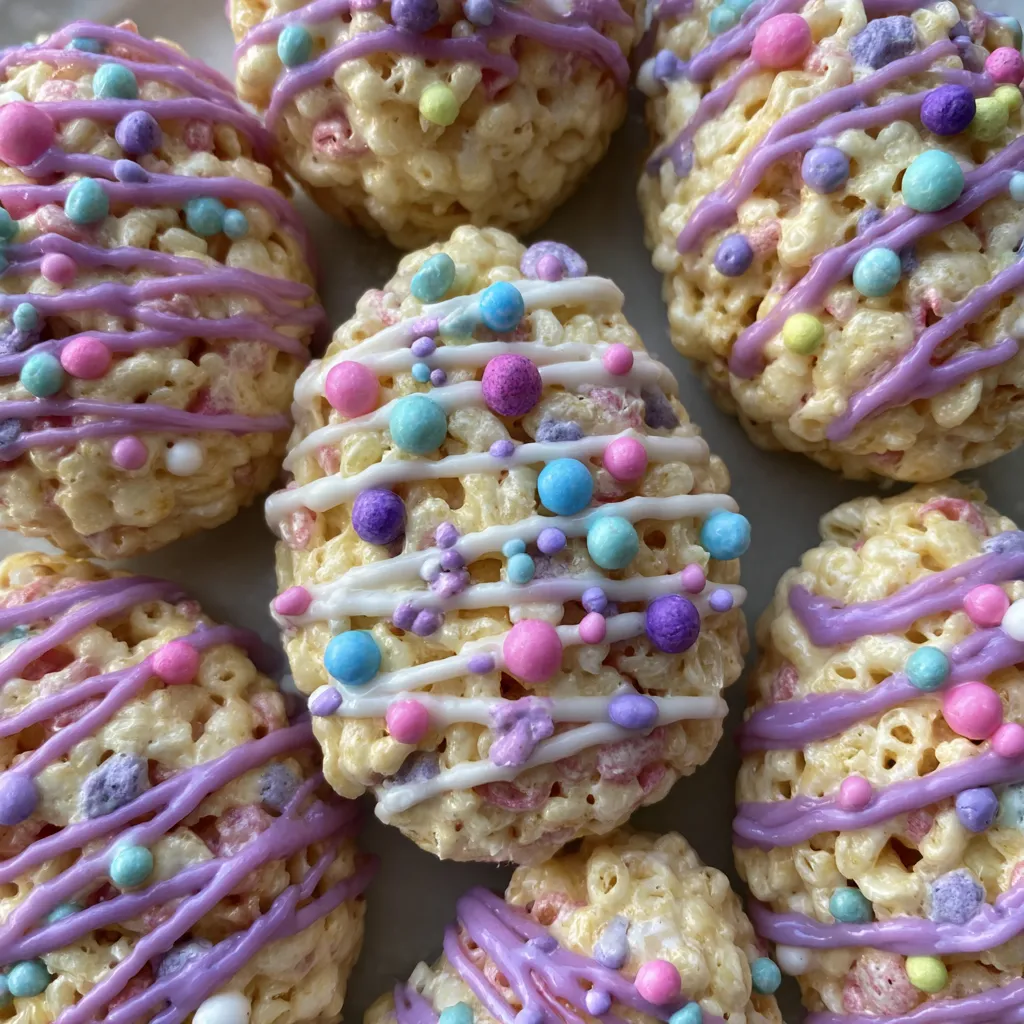
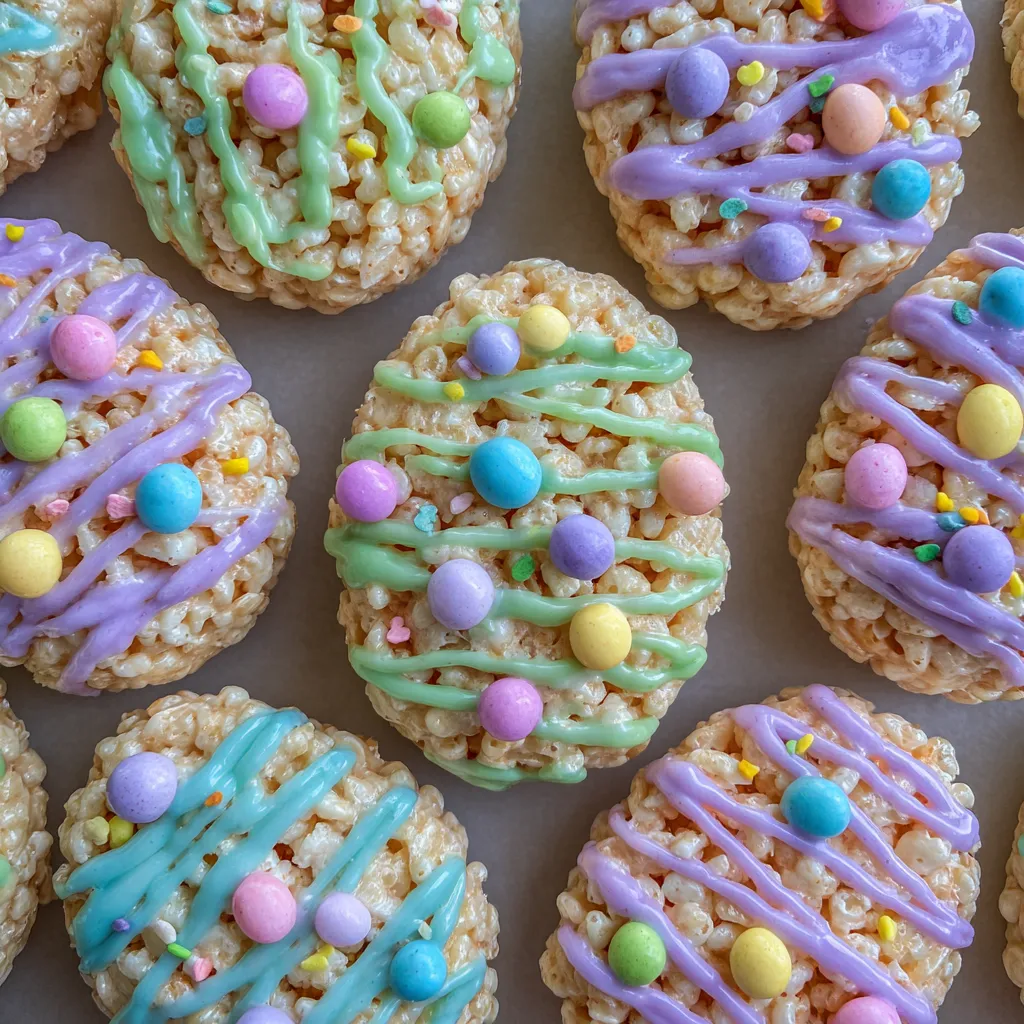
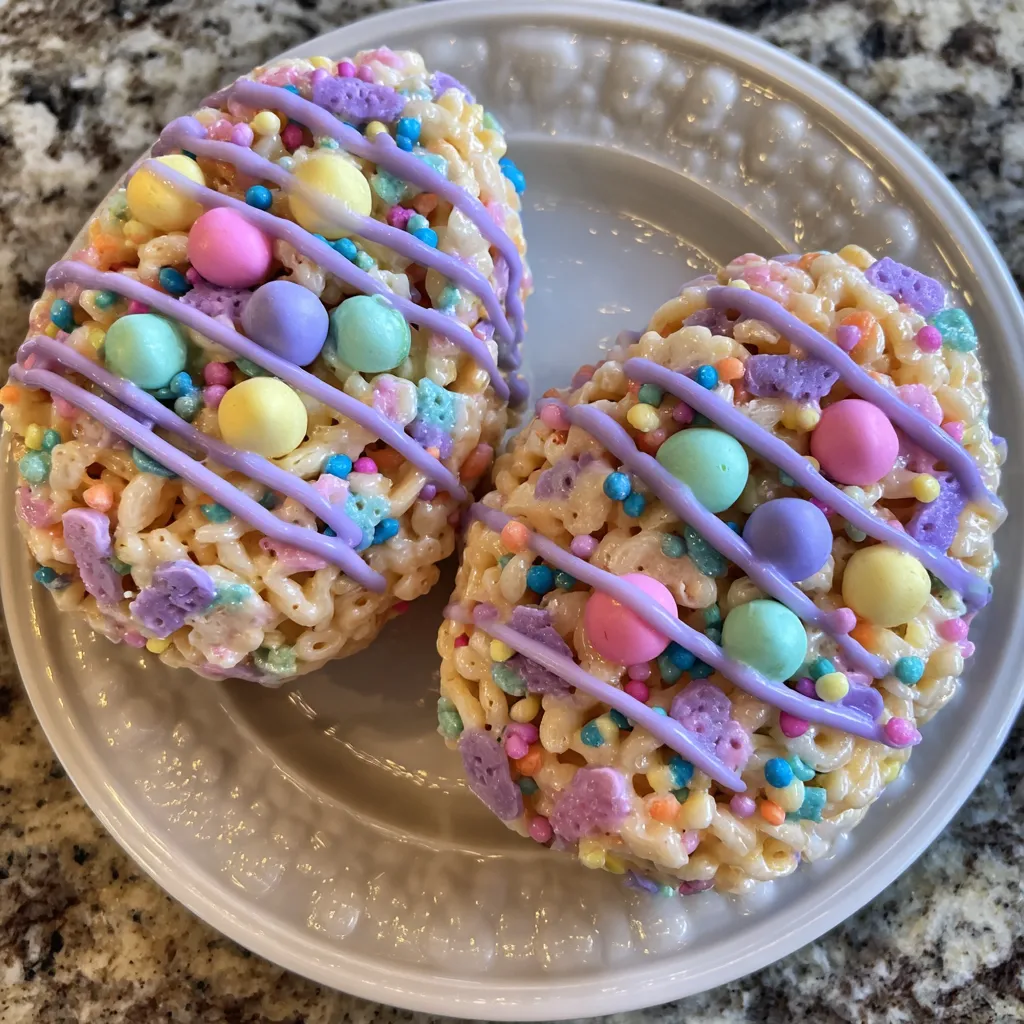
Drizzle the white chocolate in delicate lines. Add pastel sprinkles or candies for color. These Easter Egg Rice Krispies Treats look festive and inviting.
Step 8 — Allow decorations to set
Let the decorations set before serving. If you’re not in a rush, snap a photo for the blog while you wait.
Quick make-ahead and storage tips
Make-ahead: Shape eggs and store on parchment in an airtight container for up to 24 hours before decorating.
Storage: Keep finished treats in an airtight container at room temperature for 2–3 days.
Tip: If you need to chill them fast, pop the tray in the fridge for about 10 minutes.
Tips for Success
Shaping and texture guidance
- Grease hands lightly to prevent sticking when shaping the eggs.
- If the mixture is too sticky, let it cool a few minutes longer before shaping.
- Keep the pressure gentle for a smooth, rounded egg shape.
Handling and storage tips
- Decorate with pastel sprinkles for a classic Easter look.
- Store in an airtight container at room temperature for 2–3 days.
Equipment Needed
Here’s what I grab for quick, tidy no-bake magic.
Essential tools
- Large pot for melting
- Wooden spoon or silicone spatula
- Measuring cups/spoons
- Parchment paper for setting
Substitutes and handy helpers
- Optional: egg-shaped molds or a cookie cutter set
Variations
Flavor and color variations
- Pair Easter Egg Rice Krispies Treats with pastel color combos for a festive centerpiece.
- Tint the mix with food coloring or natural juices for soft, Easter-ready hues.
- Try candy decorations like mini eggs or pearls for sparkle.
Dietary-friendly tweaks
- Swap white chocolate with colored icing for a softer finish.
- Use dairy-free butter and marshmallows to make a vegan version (note: marshmallows may vary by brand).
- Check labels; some Rice Krispies are gluten-free depending on the brand.
- Add mix-ins like mini chocolate chips, mini peanut butter cups, or dried fruit bits for texture.
Serving Suggestions
These little eggs shine at spring gatherings and school events, and they pair beautifully with light sips.
They’re easy to customize for guests of all ages.
Presentation ideas
- Arrange on a tray with other spring sweets
- Package in clear treat bags for gifting
- Pair with light, citrusy beverages or milk
Easter Egg Rice Krispies Treats: Decorating Ideas and Add-Ons
Decorating Easter Egg Rice Krispies Treats is where spring magic meets kitchen craft. I love turning plain eggs into little gifts you can hand to neighbors or tuck into lunchboxes.
With a few simple finishes, you can swap bland for wow—without turning on the oven. Below are my go-to techniques and gift-ready ideas that keep the no-bake charm intact. These decorating ideas elevate Easter Egg Rice Krispies Treats into petite gifts you’re proud to share.
Decorative techniques
First, stripes are easy. Melt a bit of white chocolate and pipe thin lines across the eggs. You can use a toothpick for delicate zigzags. A light dusting of edible glitter adds shimmer without sweetness overload.
Next, color inside the egg. Divide the cooled mix into two or three bowls. Add a drop or two of food coloring to each, then layer the colored dough inside the egg before shaping. The result looks like a tiny color block candy inside.
For a playful finish, press on tiny candy pearls or sprinkles after you coat the eggs. A final drizzle of melted white chocolate ties the look together.
Add-ons for gift-ready treats
- Use striped icing patterns, edible glitter, or tiny candy pearls
- Create multi-color layers inside the egg shell
- Tie with a ribbon and label for party favors
FAQs
Common questions
- Can I make these ahead? Yes—assemble and decorate within a day for best texture; store in airtight container.
- Are they gluten-free? Rice Krispies are gluten-free on some brands; check label.
- How long do they keep? About 2–3 days at room temperature; refrigerate for longer freshness.
- Can I freeze them? Best when shaped and stored separately; re-crisp in a brief reheat.
- Can I substitute cereals? Yes, but texture and binding may vary.
Final Thoughts
The joy of sharing
I find that Easter Egg Rice Krispies Treats blend memory with kitchen magic. They’re quick, flexible, and forgiving—perfect for my busy days and the demands of a bustling family menu. When I plate these eggs, I’m sharing a small moment of joy that can be tweaked for every eater at the table. I stash a few tiny ideas for next time, because these treats become a trusty crowd-pleaser for holidays and everyday celebrations alike. In the end, they’re more than a dessert; they’re a warm, playful gesture that says, we’ve got this, together. I love that this recipe travels well to potlucks and school events, carrying a smile in every bite.
Print
Easter Egg Rice Krispies Treats Make 5 Easy, Fun, Delicious
- Total Time: 45 minutes
- Yield: 12–16 treats 1x
- Diet: Vegetarian
Description
Easter Egg Rice Krispies Treats: A festive, no-bake dessert made from marshmallow-coated Rice Krispies formed into colorful eggs and finished with icing and sprinkles.
Ingredients
- 6 cups Rice Krispies cereal
- 4 cups mini marshmallows
- 3 tbsp butter
- ½ tsp vanilla extract
- Food coloring (optional)
- 1 cup white chocolate or icing for decorating
- Sprinkles or pastel candies for garnish
Instructions
- Melt butter in a large pot over low heat.
- Add marshmallows and stir until completely melted and smooth.
- Remove from heat and stir in vanilla extract.
- Add cereal and gently mix until fully coated.
- Let mixture cool slightly, then grease hands and shape into egg forms.
- Place on parchment paper and allow to set for 20–30 minutes.
- Melt white chocolate or prepare icing.
- Decorate eggs with drizzle and sprinkles.
- Let decorations set before serving.
Notes
- Grease hands lightly to prevent sticking when shaping the eggs.
- If the mixture is too sticky, let it cool a bit longer before shaping.
- Decorate with pastel sprinkles for a classic Easter look.
- Store in an airtight container at room temperature for 2–3 days.
- Prep Time: 15 minutes
- Cook Time: 0 minutes
- Category: Dessert
- Method: No-bake
- Cuisine: American
Nutrition
- Serving Size: 1 piece
- Calories: 130
- Sugar: 14 g
- Sodium: 60 mg
- Fat: 6 g
- Saturated Fat: 4 g
- Unsaturated Fat: 2 g
- Trans Fat: 0 g
- Carbohydrates: 20 g
- Fiber: 0 g
- Protein: 1 g
- Cholesterol: 15 mg
Keywords: Easter Egg Rice Krispies Treats, Easter treats, Rice Krispies, marshmallow bars, no-bake dessert, kid-friendly dessert, Easter party snacks