
Taco Melts have long been my quick, crave-worthy answer to weeknights that demand both comfort and speed. Drawing on years in the kitchen and the practical wisdom shared on Cookeroni’s About page, I designed this 7-minute crispy, cheesy dinner to satisfy a hungry family (or a busy professional schedule) without missing flavor. It’s a chef-tested riff on a Taco Bell favorite, upgraded with a gentle, homey touch and pantry-friendly ingredients. Read on to see how these simple layers come together for a satisfying, weeknight feast you can pull off in under an hour—yes, with minimal cleanup.
Table of Contents
what make this Taco Melts special
Taco Melts are my go-to answer when a busy day stacks up and dinner time feels tight. I love how the flavors stay bold even during back-to-back meetings and carpool runs. This version keeps that crave-worthy crunch with pantry-friendly ingredients and a few kitchen tricks I’ve picked up over the years.
What makes Taco Melts special to me is their forgiving nature. A quick browning of beef, warm tortillas, a ribbon of nacho cheese, and a pinch of rice can turn into a crowd-pleaser you finish in one pan. It’s comfort you can pull off between Zoom calls and school drop-offs.
Taco Melts: a crispy, cheesy weeknight solution
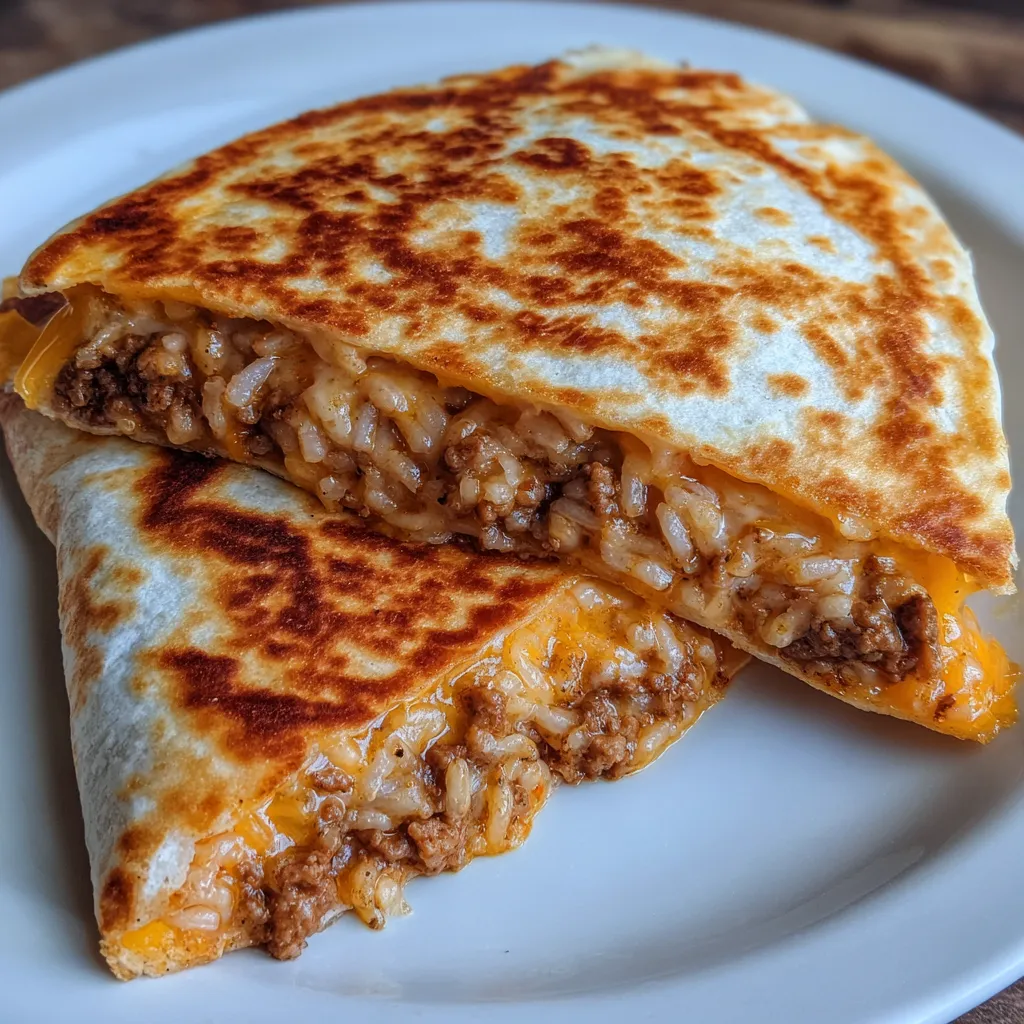
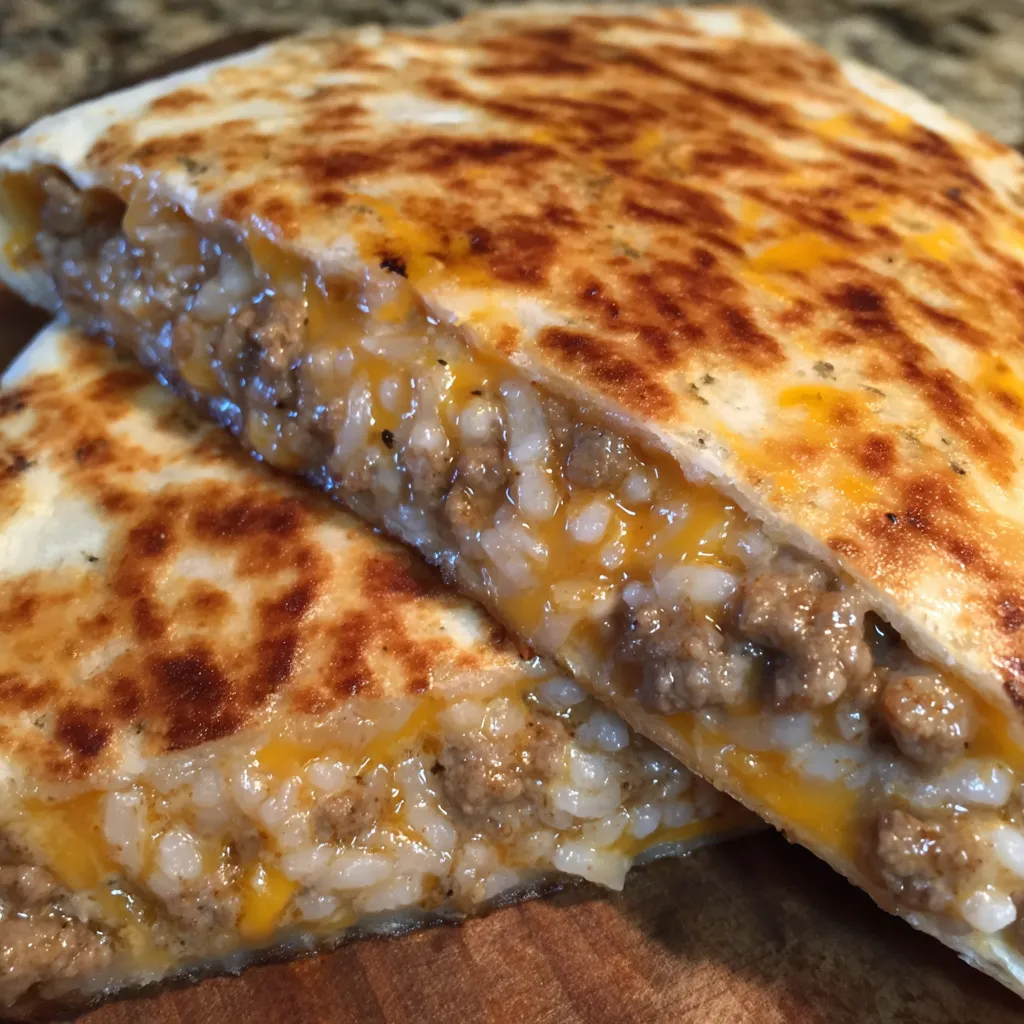
Think Taco Melts: crispy edges, melted cheese, and a gentle, beefy hug in every bite. Taco Melts give you that Taco Bell nostalgia with a home-cooked warmth. The trick is layering: beef, rice, and a generous cheese crown that turns into a gooey, golden blanket when it hits the skillet.
My chef-tested approach to Taco Melts
I treat this Taco Melts recipe like a tiny, efficient kitchen project. I brown the beef until it sings, drain the fat, and let the seasoning bloom in a splash of water. Then I arrange everything in tidy layers, so every bite has balance and crunch.
Why this recipe fits a busy schedule
Low effort, big flavor. Taco Melts use pantry staples and cook on the stove in one pan, so you’re not juggling a million pots.
Why You’ll Love This Taco Melts
I reach for Taco Melts on nights when time is tight but hunger screams.
They come together fast, with flavors that feel like a hug.
Every bite balances crispy edges, creamy cheese, and beefy goodness.
I love how simple pantry staples become a crowd-pleasing dinner.
Cleanup is kinder, and leftovers stretch into lunch the next day.
This recipe also travels well on busy weeknights, from carpool to conference calls.
Fast, flavorful, and family-friendly Taco Melts
I love that these melt-worthy bites come together in minutes, so I can swap in a quick recipe during chaos. The result is a satisfying dinner that pleases kids and adults alike, with a bold, comforting finish.
Comfort food without the fuss
Even on solo nights, I feel cozy comfort in a warm kitchen. These Taco Melts prove you can feed a crowd with speed and ease.
Ingredients
I start with the building blocks for Taco Melts. This section lists every ingredient with exact measurements. I designed it to be easy to shop and prep. Exact quantities appear at the bottom of the article and printable.
- 1 lb ground beef — the hearty base for the tacos. It browns golden and adds beefy flavor.
- 1 tbsp olive oil — helps the meat brown evenly and stay juicy.
- 1 packet taco seasoning — brings bold, familiar taco flavor to the filling.
- ½ cup water — relaxes spices and keeps the beef saucy as it simmers.
- 1 cup cooked white rice — adds staying power and helps stretch servings.
- 1 cup nacho cheese sauce — gives that creamy, melty pull in every bite.
- 1½ cups shredded cheddar or Mexican blend cheese — the gooey crown that melts into a golden crust.
- 6 large flour tortillas — sturdy wrappers that fold into burrito-like taco pockets.
Ingredient snapshot for Taco Melts
I keep the snapshot simple so busy readers see what goes into Taco Melts. I start with ground beef for a sturdy, beefy base. Olive oil helps the meat brown evenly and stay juicy. A packet of taco seasoning brings bold flavor. Water loosens the spices and keeps the filling saucy. Rice adds heartiness, while nacho cheese sauce delivers the gooey melt. Cheese crowns the layers for that signature crispy-cheesy finish. Six large tortillas hold the whole crowd-pleasing bite. Together, they ride on a weeknight wave of comfort and ease.
Optional additions and substitutions
I like optional additions to suit heat and mood. Try jalapeño slices for a bright kick. Chili powder adds warmth without extra sauce. A dollop of sour cream or avocado keeps it creamy. Swap rice for cauliflower rice to cut carbs.
Quick ingredient notes for a smooth prep
Warm tortillas briefly before assembling so they wrap neatly. Plenty of fresh toppings go on afterward. Read notes at bottom for exact quantities.

How to Make Taco Melts
Step-by-step directions for Taco Melts
I keep the sequence simple: brown the beef, season it, warm the tortillas, and build the layers. This method makes Taco Melts easy to pull off on busy evenings. With a little planning, you’ll have a crispy, cheesy dinner in minutes.
Step 1: Brown the beef
I heat a skillet over medium heat with a splash of olive oil. I add the ground beef and break it apart with a spoon, letting it brown until no pink remains. I drain any excess fat so the filling stays saucy but not greasy.
Step 2: Season and simmer
I sprinkle taco seasoning over the beef and pour in water. I simmer for 3–4 minutes, until the mixture thickens and blooms with bold taco flavor.
Step 3: Warm tortillas
Warm tortillas in a dry skillet or microwave until soft and pliable. This prevents tears when you roll your burritos.
Step 4: Assemble the burritos
Lay each tortilla flat. Spoon seasoned beef down the center. Add a layer of cooked rice, a drizzle of nacho cheese sauce, and a handful of shredded cheese. Build the Taco Melts with confident, even layers.
Step 5: Roll tightly
Fold the sides in and roll the tortilla burrito-style, sealing the seam. A tight roll keeps fillings from leaking as you cook.
Step 6: Cook to golden crisp
Heat a clean skillet over medium heat. Place the burritos seam-side down and cook 2–3 minutes per side until the edges are golden and crispy.
Step 7: Serve
Let Taco Melts rest for a minute, then slice in half if you like. Serve warm and enjoy the melty, beefy perfection—the Taco Melts are ready to impress.
Helpful tips to keep taco filling saucy and cheese-melded
Keep a light hand with the heat so the cheese melts without drying out. If your filling looks a touch dry, stir in a splash of nacho cheese sauce or a little water. The rice helps keep everything cohesive with each bite. Don’t overfill the tortillas.
Quick cleanup hacks during assembly
Line up ingredients in order, wipe the skillet between steps, and keep a rag handy. A quick sweep after rolling saves time during a busy evening.
Tips for Success
- Pull ingredients together first; heat tortillas so they’re pliable.
- Brown beef deeply, but don’t overcook; flavor builds for Taco Melts.
- Add a splash of water or nacho sauce to keep filling saucy.
- Layer evenly; balance beef, rice, and cheese for every bite.
Flavor boosts you can add
Jazz up Taco Melts with subtle heat by jalapeño slices, chili powder, or a drizzle of hot sauce to taste.
Texture tweaks for extra crisp
For crunch, finish in a hot skillet longer, or add a light dusting of cornmeal on the edges.
Equipment Needed
Getting Taco Melts on the table fast means grabbing the right tools. Here’s what I reach for, with easy substitutes if you don’t own something specialized.
- Nonstick skillet (or cast iron)
- Spatula or tongs
- Cutting board and knife
- Measuring cups and spoons
- Microwave-safe plate or tortilla warmer
Essential tools for Taco Melts
A sturdy skillet, a reliable spatula, and a gentle touch with a rolling, snug burrito are essential. Keep a microwave-safe plate and a baking sheet handy for crisp edges.
Easy substitutes for rarely-used tools
If you don’t own a baking sheet, use a microwave-safe plate lined with parchment; a regular spatula works in a pinch.
Variations
Protein and flavor twists
I love swapping in chicken, turkey, or beans for a lighter twist. A touch of chipotle or poblano peppers adds depth without changing the Taco Melts vibe.
Dietary-friendly tweaks
I test dairy-free or lower-carb versions by using dairy-free cheese and cauliflower rice. You can keep the richness with avocado crema or a sprinkle of nutritional yeast for a cheesy, comforting finish.
Rice and cheese swaps
Try brown rice or cauliflower rice and swap in pepper jack or Monterey Jack for a different melt. It keeps texture lively.
Serving Suggestions
Complementary sides and drinks
Serve Taco Melts with crispy tortilla chips and pico de gallo. Add a lime-water agua fresca or a light green salad.
Plating and presentation tips
Slice on a warm board, sprinkle cilantro, and drizzle extra nacho sauce for a homey, inviting look.
Make-Ahead Taco Melts: Meal Prep and Freezer-Friendly Tips
Make-ahead assembly for busy nights
I keep a make-ahead plan for calm weeknights.
Prepare the beef, rice, and cheese layers up to 24 hours ahead.
Store components in airtight containers, keeping tortillas separate.
When ready to cook, assemble, roll, and finish as usual.
I label containers with dates to stay organized.
This keeps your pantry calm and your evenings breezy.
Freezing and reheating guidance
You can freeze assembled burritos for easy meals later.
Wrap tightly, label with date, and freeze up to two months.
To reheat, I thaw in the fridge overnight, then cook as directed.
If I’m in a rush, I reheat in the microwave for 2–3 minutes.
Cheese may separate slightly after freezing; a quick stir helps.
FAQs
Can these be made ahead and stored?
Yes, Taco Melts can be made ahead. Build the filling and rice layers. Store them in airtight containers in the fridge for up to 24 hours. Keep the tortillas separate to prevent sogginess. Reheat and cook as directed.
Can I freeze cooked Taco Melts?
Yes, you can freeze cooked Taco Melts. Let them cool completely before freezing. Wrap tightly and label with the date. Freeze up to two months. To reheat, thaw overnight or heat from frozen in the oven or microwave. Serve hot and melty.
Can I substitute ingredients if I’m short on rice or nacho cheese sauce?
Yes, substitutions work well here. For rice, cauliflower rice is a good stand-in. If you’re out of nacho cheese sauce, mix cheddar with a splash of milk to thin. Beans can also stand in for meat in a pinch. Adjust seasoning as needed.
How can I keep tortillas pliable during assembly?
Warm tortillas in a dry skillet or microwave until soft. Wrap them in a damp towel to keep pliable. Store wrapped tortillas covered until you’re ready to fill.
Final Thoughts
Taco Melts have become my reliable weeknight beacon. They turn a busy evening into something warm and doable, with a bookshelf of flavors that still feels homemade.
I love the way a skillet, seasoned beef, and cheese melt together, giving us a moment of calm between errands and meetings. It’s uncomplicated comfort I reach for again and again.
The weeknight win of Taco Melts
On busy nights, this dish is a reliable ally. The sizzle, the cheese, the way the flavors layer in each bite—it’s comfort with velocity. I watch my family grin at the first bite, then chase the last melt with a forkful of rice and sauce.
Print
Taco Melts spark a 7-Minute Ultimate Crispy Cheesy dinner.
- Total Time: 50 minutes
- Yield: 6 servings 1x
- Diet: Diabetic
Description
Taco Melts are a crispy, cheesy, beefy quick-dinner classic inspired by Taco Bell’s Beefy Melt Burrito.
Ingredients
- 1 lb ground beef
- 1 tbsp olive oil
- 1 packet taco seasoning
- ½ cup water
- 1 cup cooked white rice
- 1 cup nacho cheese sauce
- 1½ cups shredded cheddar or Mexican blend cheese
- 6 large flour tortillas
Instructions
- Heat olive oil in a skillet over medium heat. Add ground beef and cook until browned, breaking it apart as it cooks. Drain excess fat if needed.
- Stir in taco seasoning and water. Simmer for 3-4 minutes until thickened.
- Warm tortillas until soft and pliable.
- Lay tortillas flat and spoon seasoned beef down the center.
- Add a layer of cooked rice, drizzle with nacho cheese sauce, and sprinkle with shredded cheese.
- Fold the sides in and roll tightly into burritos.
- Heat a clean skillet over medium heat and place burritos seam-side down.
- Cook for 2-3 minutes per side until golden and lightly crispy.
- Serve warm and enjoy immediately.
Notes
- To keep tortillas pliable, warm them briefly in a dry skillet or microwave before assembling.
- For make-ahead meals, assemble burritos and refrigerate up to 24 hours before cooking.
- For extra flavor, add a pinch of chili powder or jalapeño slices to the beef.
- Leftovers can be stored in an airtight container for 2-3 days.
- Prep Time: 15 minutes
- Cook Time: 35 minutes
- Category: Main Course
- Method: Skillet (stovetop)
- Cuisine: Mexican-American
Nutrition
- Serving Size: 1 burrito
- Calories: 650
- Sugar: 3 g
- Sodium: 900 mg
- Fat: 34 g
- Saturated Fat: 15 g
- Unsaturated Fat: 19 g
- Trans Fat: 0 g
- Carbohydrates: 68 g
- Fiber: 5 g
- Protein: 34 g
- Cholesterol: 180 mg
Keywords: Taco Melts, beefy burrito, copycat Taco Bell, cheesy melt, quick dinner, weeknight meal