Classic Cheese Ball is a crowd-pleasing, make-ahead party starter. I’m a professional chef who designs practical, elegant recipes for real life. These ideas fit busy professionals and entertaining-minded women juggling careers and family moments. On Cooker Oni, I share approachable techniques to balance flavor, texture, and presentation. So you can serve something special without the stress. This post spotlights the Classic Cheese Ball: creamy, savory, and perfectly balanced with a crunchy coat. Ready to wow your guests with minimal fuss? Let’s dive in.
Table of Contents
What makes this Classic Cheese Ball special
The Classic Cheese Ball is a crowd-pleasing starter that travels well from kitchen to table. I love how it feels indulgent yet practical. For busy readers, it’s a time saver with real wow factor. It comes together with pantry staples, then earns quiet praise as guests arrive. The creamy center hides a crunchy coat, making every bite feel special without extra fuss. When I host, I reach for this recipe first. It sets the tone for an easy, elegant gathering. This dish proves flavor and ease can share the stage, especially during busy weeks. It invites conversation, not chaos, even when schedules sprint. That balance is what keeps me reaching for it.
A dish that fits busy schedules
Between school runs and client calls, I need meals that travel well to gatherings. This dish fits busy schedules because it can be made ahead and still taste fresh. I often whisk it together in a single bowl, wrap it, and tuck it in the fridge. The nuts do the heavy lifting on texture, so plating looks polished without stress. When guests arrive, I simply roll, coat, and set the tray. The Classic Cheese Ball becomes the easy centerpiece that earns compliments.
The texture and crave factor
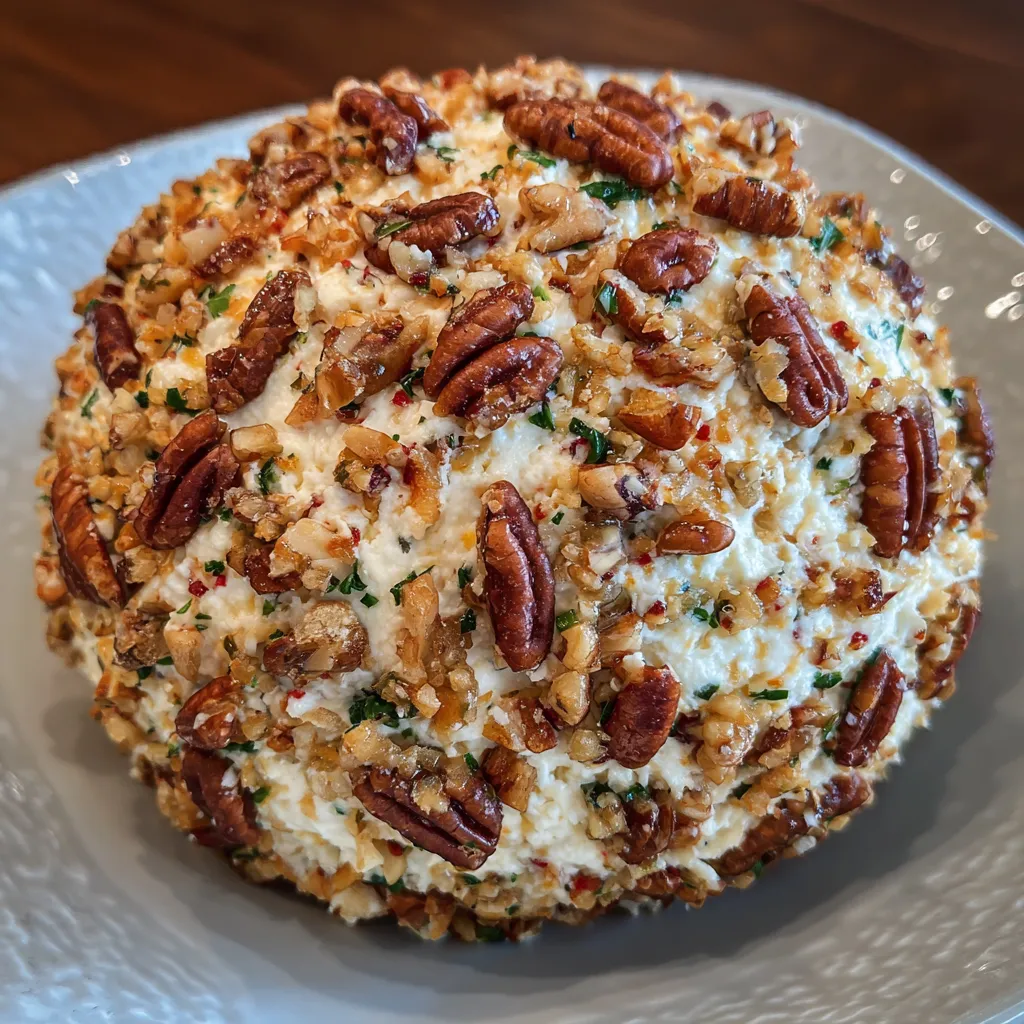
Texture is where the magic happens in the Classic Cheese Ball. The interior stays luxuriously creamy, while the chopped nuts bring a snap of crunch. That contrast makes each bite irresistibly crave-worthy. I like a mix of pecans or walnuts for color and warmth. If you want extra pop, toss in a pinch of paprika or a few chopped olives. The result looks and feels premium, yet it comes together with pantry staples and a forgiving chill.
Why You’ll Love This Classic Cheese Ball
I reach for the Classic Cheese Ball when time is tight but taste matters. Creamy, not fussy, it earns a round of praise with minimal effort. The nuts deliver texture and a polished look that says you planned, even on busy nights.
On weeknights and client calls, I love that it can be made ahead and still feel special. The crowd gets a taste of celebration without the stress.
Quick setup and make-ahead magic
I love how quick this comes together. One bowl, cream cheese, cheddar, green onions, and a few seasonings—then roll in chopped nuts.
The whole thing takes minutes, and you can wrap it and chill for hours. When party time arrives, it’s slice-and-dip ready.
Flavor that warms and impresses
The flavor is a warm hug: creamy center, sharp cheddar, garlic, and a hint of Worcestershire. It feels comforting yet festive, perfect for celebrations and late-night snack moments.
That crunchy coating steals the show and makes each bite feel special. You can tailor it with olives, sun-dried tomatoes, or different nuts to keep the Classic Cheese Ball fresh.
Ingredients Classic Cheese Ball
Here are the exact ingredients I reach for to build a Classic Cheese Ball that stays creamy inside and crunchy on the outside. It comes together in minutes and travels well for gatherings.
- 16 oz cream cheese, softened
- 2 cups shredded sharp cheddar cheese
- ½ cup green onions, finely chopped
- ½ cup red bell pepper, finely diced (optional for color)
- 1 tsp garlic powder
- 1 tsp Worcestershire sauce
- ½ tsp black pepper
- 1 cup chopped pecans or walnuts (for coating)
Printable quantities are provided below for quick shopping.
Cream cheese base
The base is built from 16 oz of softened cream cheese, beaten smooth to form a lush, spreadable center.
Crunchy coating options
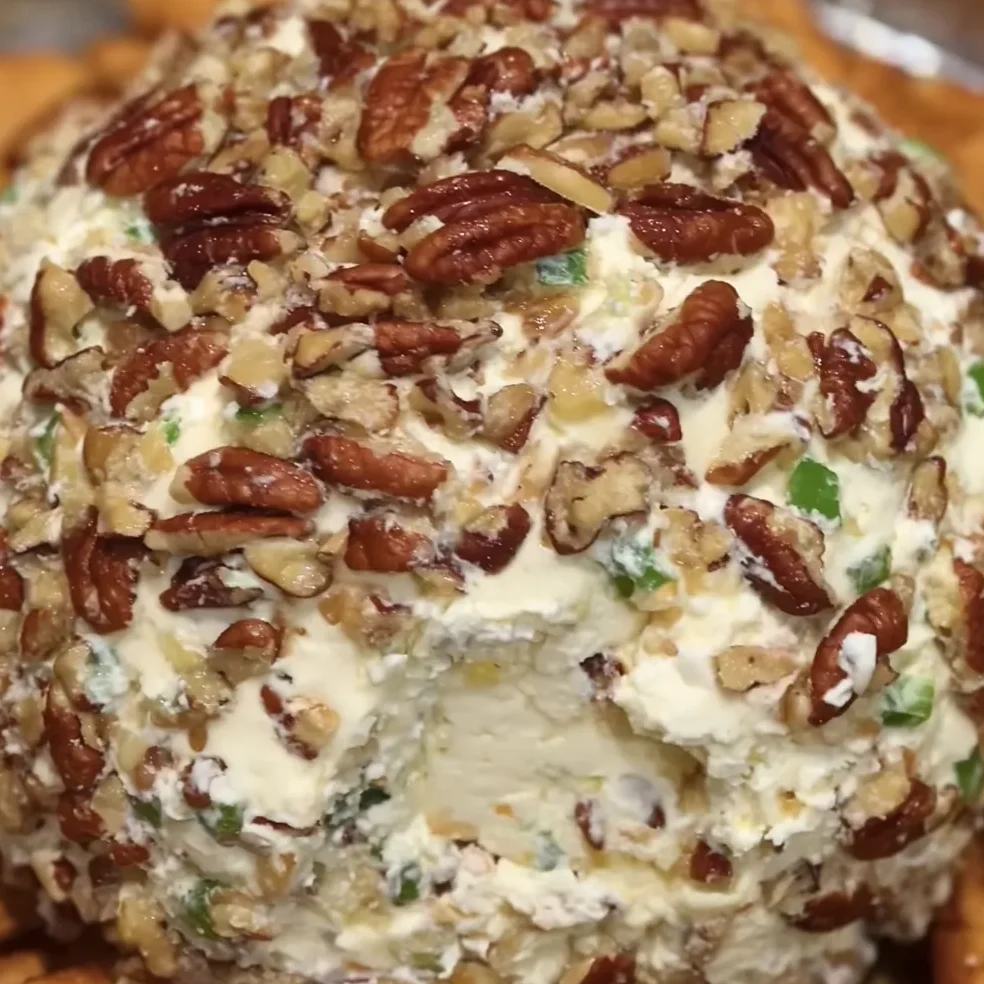
Roll the ball in chopped nuts for that irresistible crunch. Pecans, walnuts, almonds, or pistachios work beautifully, or mix them for color and texture.
How to Make Classic Cheese Ball
Step 1: Beat the cream cheese
Tip: Let cream cheese come to room temperature for easy blending.
Begin by beating the cream cheese until silky and lump-free. I use an electric mixer on moderate speed for 1–2 minutes. This smooth base is the heart of the Classic Cheese Ball.
If the cream cheese is chilly, give it extra seconds to soften before blending. Room temperature cheese blends faster and more evenly. This keeps the Classic Cheese Ball creamy from the first beat.
Step 2: Stir in cheddar and seasonings
Tip: Mix until fully blended for a smooth texture.
Next, fold in the shredded cheddar cheese and all the seasonings. Stir until you see a consistent, marble-like texture. That smooth blend holds flavors well for a party-ready appetizer.
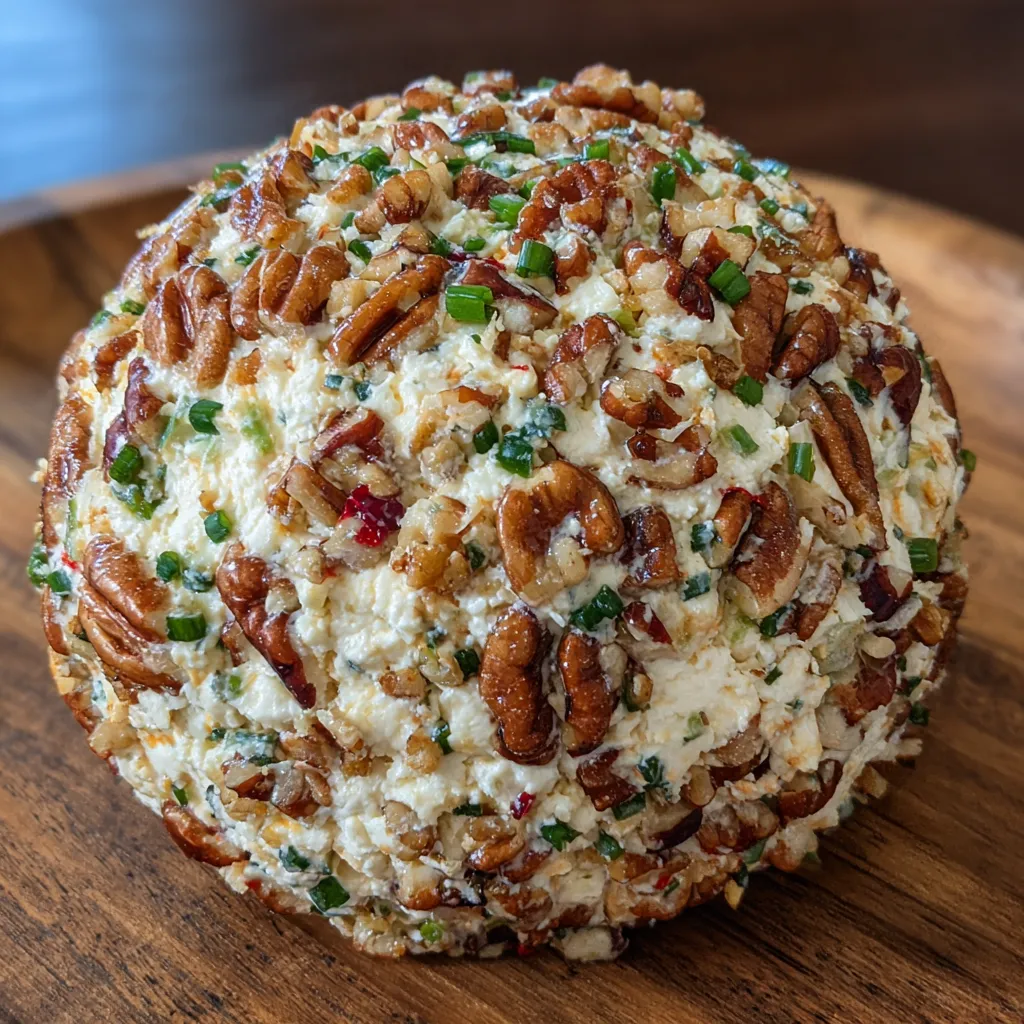
Add green onions and red bell pepper for color and crunch. They lift the look and taste of the mix. Keep mixing until everything is evenly distributed.
Step 3: Shape into a ball and coat
Tip: Use plastic wrap to help form a perfect sphere, then roll in chopped nuts.
Shape the mixture into a ball, pressing gently for a smooth surface. If you want two smaller spheres, divide evenly. Keep your hands cool; a light touch helps the surface stay smooth.
Roll the ball in chopped pecans or walnuts until fully coated. Turn the ball as you roll to cover all sides. For extra color, press in additional chopped herbs on the surface.
Step 4: Chill and serve
Tip: Chill at least 2 hours (or up to 24 hours) for easier serving.
Wrap the cheese ball in plastic wrap and refrigerate for at least 2 hours. I often plan ahead, letting it rest up to 24 hours for deeper flavors. This rest makes serving easy and keeps the coating intact.
When ready to serve, remove from the fridge and let stand 15–20 minutes for easy scooping. Set on a platter with crackers or veggie sticks. Garnish with fresh herbs for extra color.
Tips for Success
Here are quick, practical tips to nail the Classic Cheese Ball every time.
- Use room-temperature dairy for an ultra-smooth, scoopable blend that stays perfectly creamy.
- Chill fully before slicing to hold the shape and make serving effortless, every time.
- Roll in a mix of nuts or seeds for variety, texture, color, and eye-catching contrast.
- Let stand 15-20 minutes at room temperature before serving for easy scooping at the party.
Equipment Needed
Here’s what I grab for smooth prep for the Classic Cheese Ball. A few practical tools keep this Classic Cheese Ball stress-free.
- Mixing bowl (large, stable)
- Electric mixer or sturdy spoon
- Plastic wrap (or reusable wrap)
- Serving platter and crackers or veggie sticks
- Food-grade gloves (optional for shaping)
Variations for Your Classic Cheese Ball
I love mixing up the Classic Cheese Ball to suit taste and needs. It stays flexible enough for dietary tweaks and crowd vibes.
With a few easy swaps, you can tailor it for picky eaters, gluten-free guests, or dairy-free friends, without losing its charm. The Classic Cheese Ball shines at any party.
- Substitute gluten-free Worcestershire or omit it for celiac-friendly prep.
- Try almond, pistachio, or mixed-nut coatings for varying textures and color.
- Swap green onions for chives or shallots for a milder bite.
- Add cooked, finely minced bacon or sun-dried tomatoes for extra depth.
- Create a dairy-free version using plant-based cream cheese and cheddar-style shreds.
Try one tonight and save the rest for the weekend.
Serving Suggestions for Classic Cheese Ball
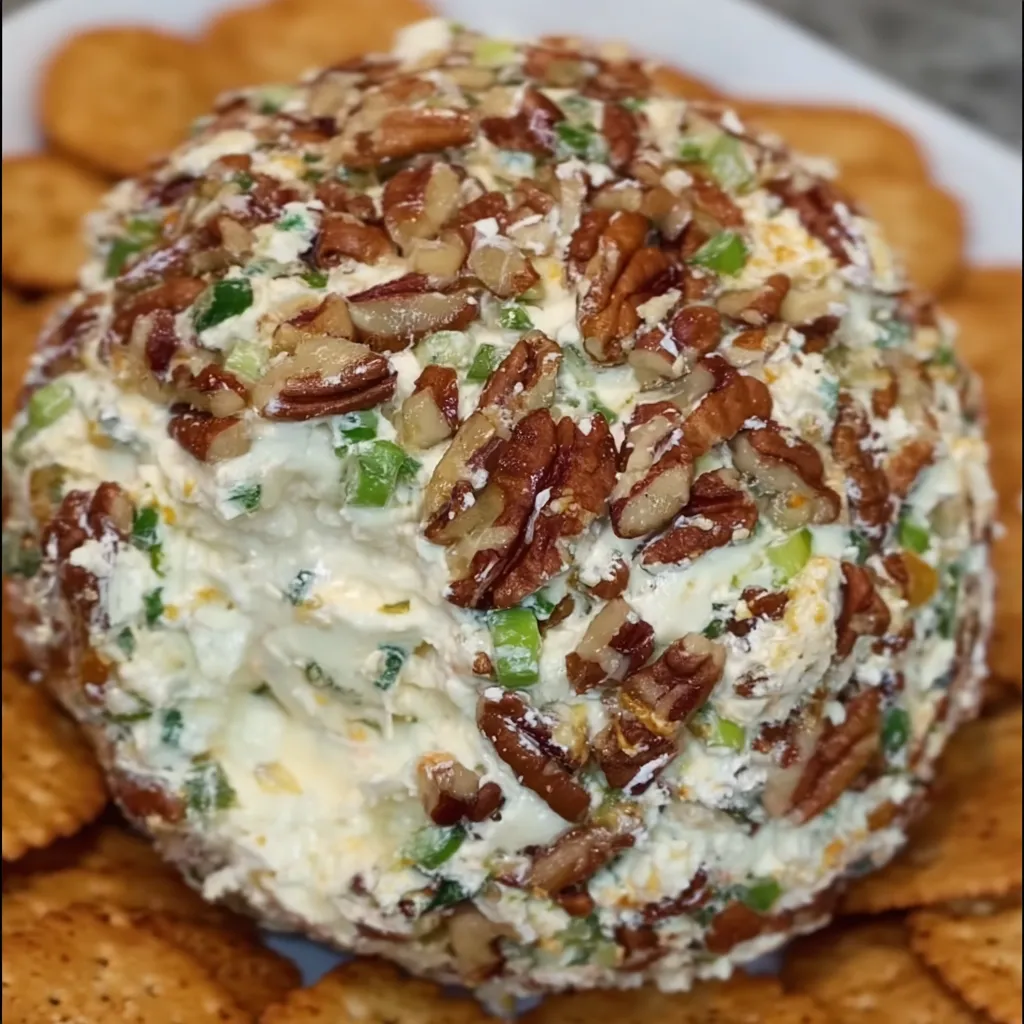
When I plate the Classic Cheese Ball, I tuck it onto a clean board with an assortment of crackers, breadsticks, and veggie sticks. It invites guests to dip and conversation to flow.
- Crackers, breadsticks, veggie sticks
- Sparkling lemonade, crisp white wine, or cider
- Fresh herbs or citrus zest for color
Add-Ons to Elevate Your Classic Cheese Ball
If you want to take your Classic Cheese Ball from great to show-stopping, these add-ons are my go-to. They’re quick, flexible, and designed for busy cooks like you and me. They also boost presentation on a crowded table, making it feel special without extra effort.
- Drizzle a delicate honey or fig glaze lightly over the surface for a touch of sweetness that balances the savory center.
- Sprinkle smoked paprika or a fine dusting of cayenne for subtle heat that lingers pleasantly.
- Mix in chopped olives or sun-dried tomatoes for briny depth and color peeking through the coating.
- Use a mix of nuts—almonds, pistachios, walnuts—for uneven crunch and visual interest.
- Offer a duo of coatings: pecans for tradition, or almonds and sesame seeds for a modern twist.
- Create mini cheese ball bites by forming smaller spheres and serving on skewers with dipping sauces.
These add-ons let you tailor the cheese ball to your crowd, your time, and your style.
FAQs
Can I make Classic Cheese Ball ahead of time?
Tip: Yes. Refrigerate for at least 2 hours or up to 24 hours to meld flavors. Bring to room temperature 15-20 minutes before serving for easier scooping.
Is this recipe gluten-free?
The base ingredients are gluten-free, but ensure Worcestershire sauce is gluten-free if serving guests with celiac disease.
How should I store leftovers?
Wrap tightly and refrigerate. Use within 3–4 days; re-roll in nuts before serving if the coating has softened.
Final Thoughts
The joy of a crowd-pleasing bite
I love how a Classic Cheese Ball pulls people in and starts the conversation. It’s creamy and comforting, yet somehow festive without fuss. With its crunchy nut coating and easy make-ahead setup, this dish fits a busy schedule and still earns warm applause.
When I plate it, I think about how many hands will dip and how few cleanups there will be. The magic is that a simple ingredient list becomes something special with the right crunch and color. This is a recipe I return to when I need hostess confidence without stress, a true crowd-pleaser.
If you’re hosting next weekend or a last-minute gathering, mix, roll, coat, and chill earlier in the day. Let the kitchen hum with compliments as you slice and serve with crackers and veggie sticks. Give yourself a little cheer for choosing a dish that’s creamy, crunchy, and downright welcoming—the Classic Cheese Ball.
Print
Classic Cheese Ball: 3 Irresistible Creamy Crunchy Secrets.
- Total Time: 2 hours 15 minutes
- Yield: 1 large cheese ball (12–15 servings) 1x
- Diet: Vegetarian
Description
Classic Cheese Ball is a creamy, savory party appetizer rolled in crunchy nuts, perfect for holidays and gatherings.
Ingredients
- 16 oz cream cheese, softened
- 2 cups shredded sharp cheddar cheese
- ½ cup green onions, finely chopped
- ½ cup red bell pepper, finely diced (optional for color)
- 1 tsp garlic powder
- 1 tsp Worcestershire sauce
- ½ tsp black pepper
- 1 cup chopped pecans or walnuts (for coating)
Instructions
- In a large bowl, beat cream cheese until smooth.
- Mix in cheddar cheese, green onions, bell pepper, garlic powder, Worcestershire sauce, and black pepper until fully combined.
- Shape mixture into a ball (or two smaller balls for easier serving).
- Roll cheese ball in chopped nuts until fully coated.
- Wrap in plastic wrap and chill for at least 2 hours before serving.
- Serve with crackers, breadsticks, or veggie sticks.
Notes
- Make ahead: refrigerate for at least 2 hours or up to 24 hours for flavors to meld.
- For gluten-free serving, ensure Worcestershire sauce is gluten-free (optional).
- Try different coatings (almonds, pistachios, or mixed nuts) for variety.
- Let the cheese ball sit at room temperature for 15-20 minutes before serving for easier scooping.
- Prep Time: 15 minutes
- Cook Time: 0 minutes
- Category: Appetizer
- Method: Chill and coat
- Cuisine: American
Nutrition
- Serving Size: 1 cheese ball portion (about 1/12 to 1/15 of the ball)
- Calories: About 200 per serving
- Sugar: 1 g
- Sodium: Approximately 180 mg
- Fat: 14 g
- Saturated Fat: 6 g
- Unsaturated Fat: 8 g
- Trans Fat: 0 g
- Carbohydrates: 6 g
- Fiber: 2 g
- Protein: 8 g
- Cholesterol: 40 mg
Keywords: Classic Cheese Ball,Cream Cheese Ball,Cheese Ball Recipe,Party Appetizer,Holiday Appetizer